Solar Installation on 2010 Cameo 35SB3
We bought our 2010 Cameo 35SB3 in January 2010. I dismantled the solar equipment that was installed in our old fifth wheel and installed it in our new Cameo fifth wheel. Part of the work was done while we were camped at various campsites, mostly in Texas shortly after we took possession of the Cameo. The Trace Inverter, the batteries and the generator were done first. I waited until we got home to install the solar panels and charge controller, although I could have done them while on the road just as well. I found it convenient to have a Lowe's and Home Depot close to buy wire, various connectors and hardware.
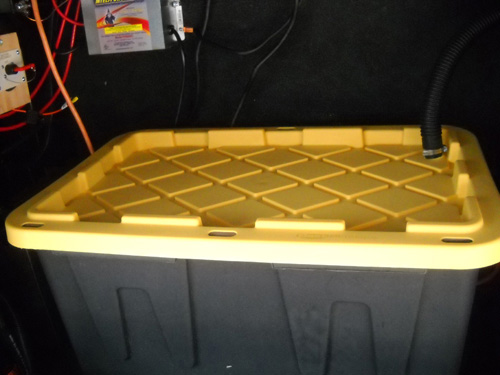
Here's the battery box I bought it at Home Depot for around $14.00. It's the 27 gallon size and it's supposed to hold 750 pounds. Four deep cycle batteries fit perfectly. Note the vent hose coming out of the right rear lid. That's to vent dangerous hydrogen gas.
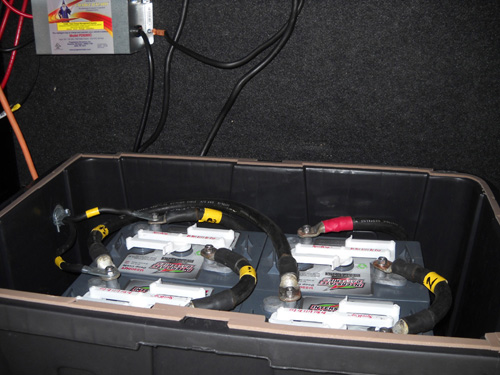
I have four Interstate U2200UT deep cycle batteries rated at 232 AH each. My previous Trojan T105 batteries worked well and lasted seven years. The Interstate batteries have a little higher AH rating, 232 vs 225 and I could get them locally when I needed them. Trojans back in 2003 = $67.95, Interstates in 2009 = $96.83. The Interstate price was at an Interstate distributor, not at a retail outlet. I've since replaced some of the heavy wiring with smaller gauge. Notice the weather strip around the top of the box to further seal it.
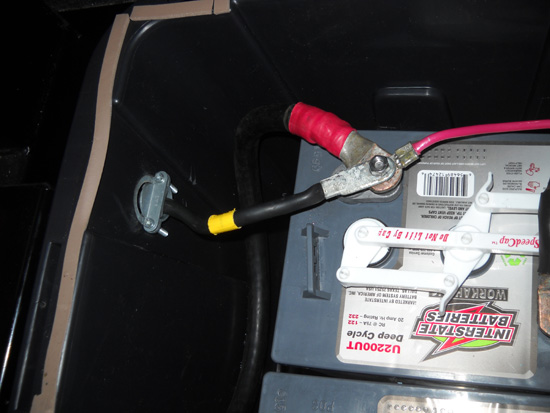
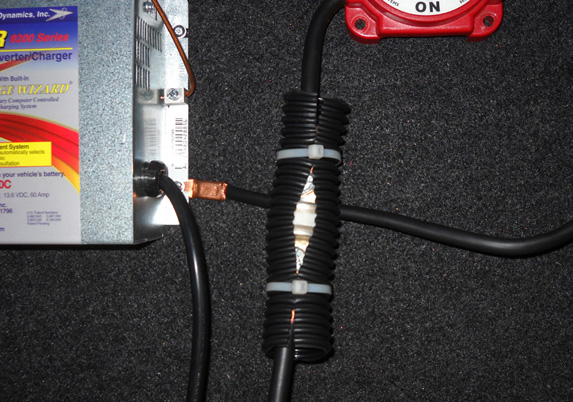
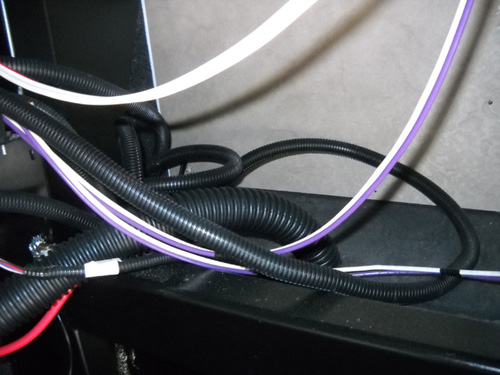
A close up of the wires leaving the battery box.

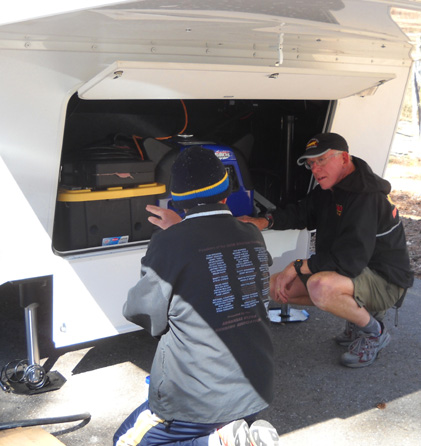
My friend, Bill, giving me a little advice.
This is the 250 amp catastrophic fuse with its protective cover. I made the cover from left over vent hose material and secured it with zip ties.
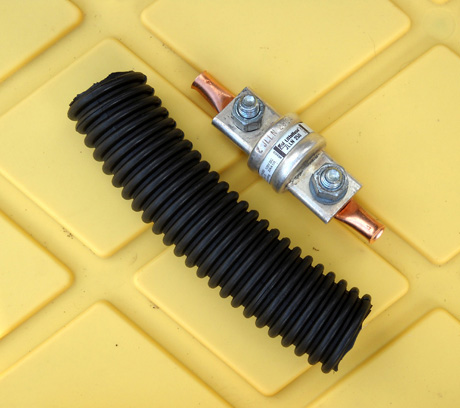
Catastrophic fuse mounted between battery positive and the battery disconnect switch.
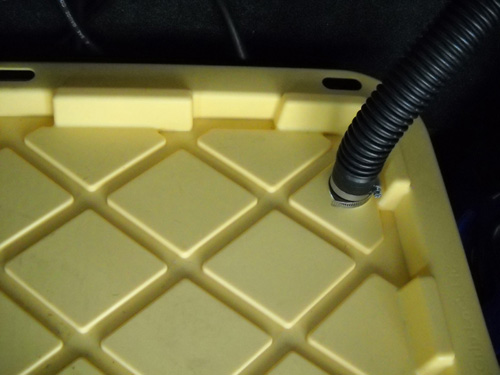
I was looking for a small section of hose to vent the battery box. I found this at Home Depot. It cost less for this 24' package than for a custom cut piece of hose that wasn't what I really wanted. And it came with two connectors and hose clamp. I think it was about $8.99. What a deal!

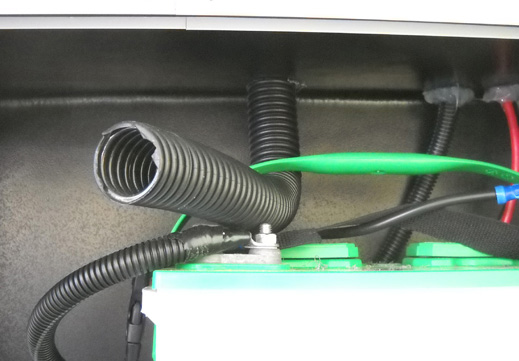
Vent hose leaving the battery box . . .
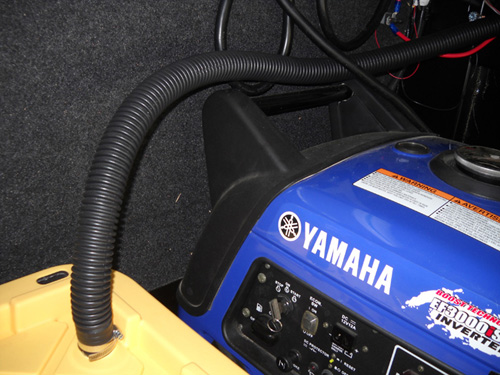
. . . routing over the generator to the driver side / street side on the Cameo . . .
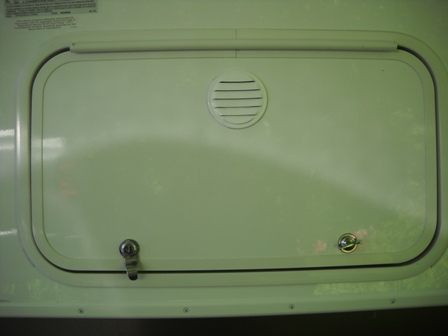
. . . down into the top of the existing Cameo battery box . . .
. . . and out into the air . . .
. . . through the existing vent.
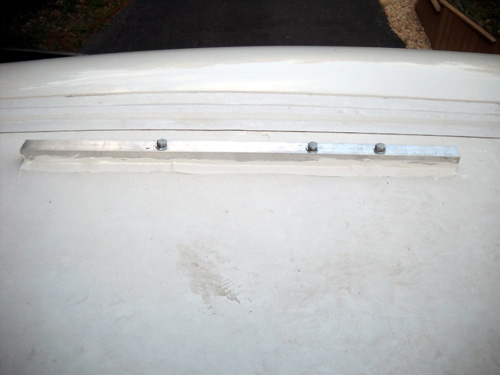
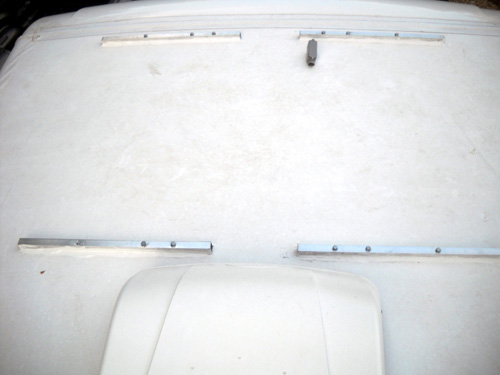
These are the 1" square aluminum tubes with 2" X 5/16" lag screws. I eventually added one more screw to each tube. I got the idea to use aluminum tubing from my friend, Paul in Oregon. I never would have thought of this.

Mounting the tubes to the roof. Note the shadow cast by the A/C unit. It's a low profile unit; hopefully it won't cause any problems.

Front left tube mounted with three lag screws. I had four screws left over so decided to use them. I caulked the holes before I inserted the screws and all along the tubing with Dicor. I found Dicor hard to work with, but it works.
Four tubes mounted and caulked.
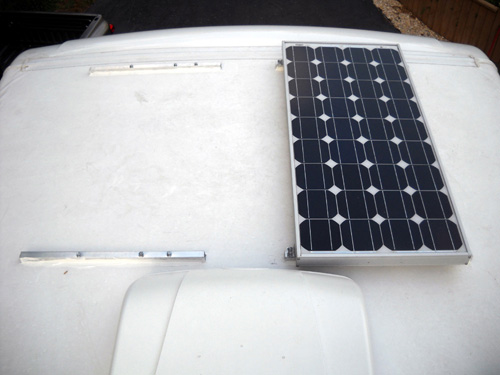
One panel mounted.
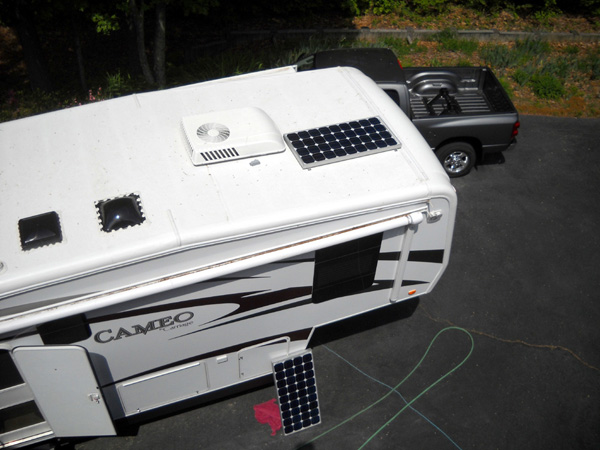
View from the roof of our house.
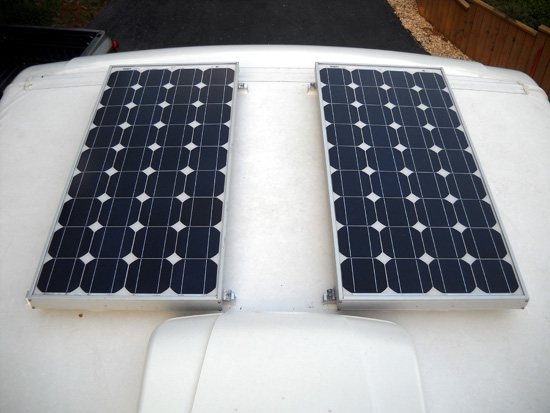
Two panels mounted.
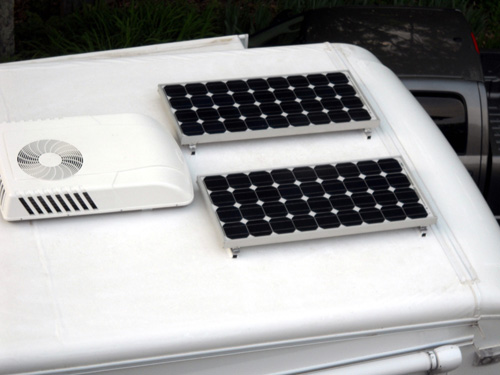
The tops of the panels are 4" off the roof, so the A/C unit probably won't cast its shadow until very late in the day when the sun is low in the sky. This is when they will be producing the least amount of power anyway.
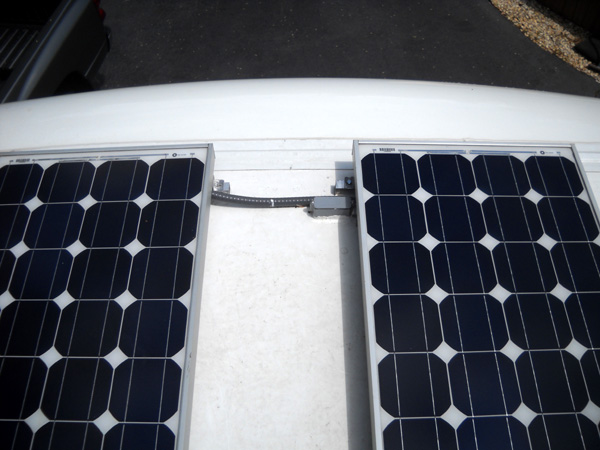
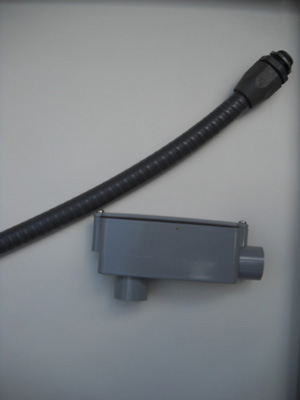
The flexible conduit connecting the two panels in parallel. Also seen is the weatherproof box where the wires enter the coach.
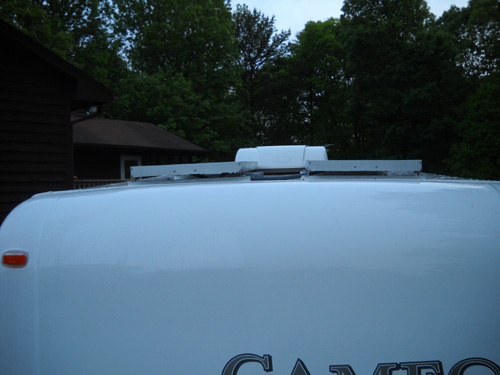
Front view of the panels.
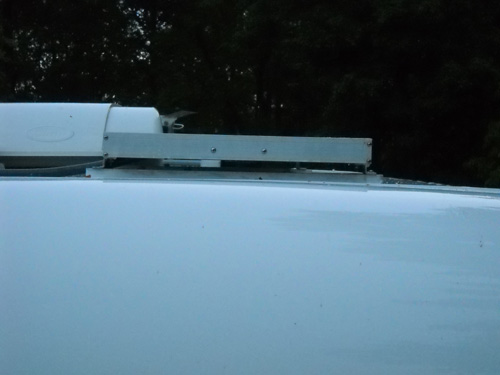
Flexible conduit and 1/2" conduit box. The lower port on the box fits down into the hole drilled in the roof. The box is heavily caulked and held down with a 1" X 5/16" lag screw.
The # 10 wire from the panels entered the coach from the ceiling of the front closet. I tacked it down along the side wall of the closet, out of sight, and finally through this hole in the floor. This covered hole came with the unit and is used to feed other wiring to the front cap lights and the closet ceiling light (I assume).
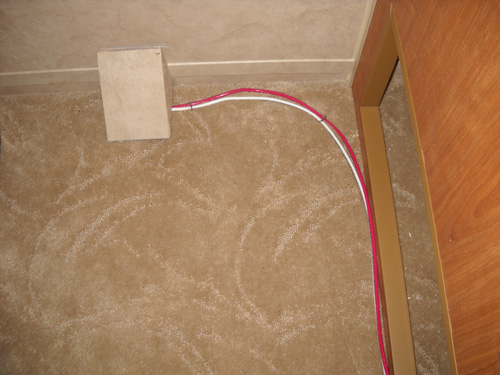
The wires coming from the closet floor. This is right under the pin box.

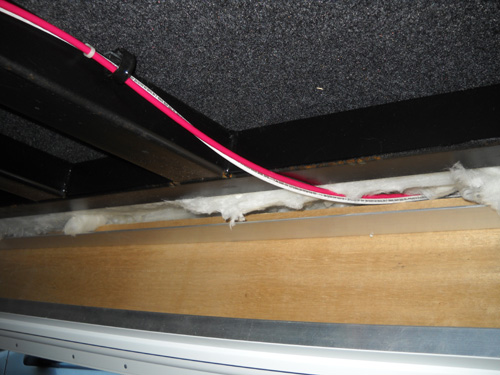
Then they slide in above the thin sheet of plastic and under the front bedroom area.
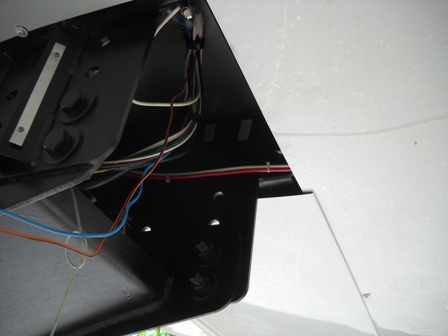
This is where they enter the front storage compartment from the hole under the pin box.
Almost every time I climbed up on the roof (I lost count after 62 ups and downs) I was met by what I thought was a bumble bee. We have them around the yard and they won't bother you if you don't bother them. So, I just ignored it. Then I spotted a hornets' nest in the making under the antenna. I didn't want any part of that so I got rid of the nest pronto.

This is my Trace DR2412 Inverter Charger (and my Sun Saver Duo Charge Controller below). The 2412 is probably overkill and a little pricey for an RV system, but I bought it with the thought that should the solar components not work out in the RV, I could always install it in our house. I've been very happy with this unit. It's a four stage charger and a 2400 watt 12 volt inverter. The panel wires are seen in the upper left and down the side of the DR2412 to the Sun Saver Duo Charge Controller.
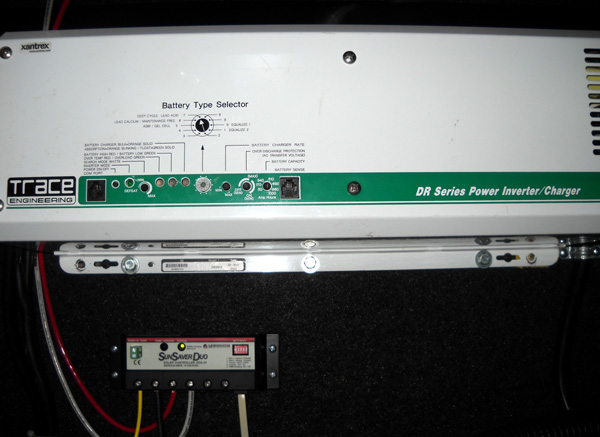
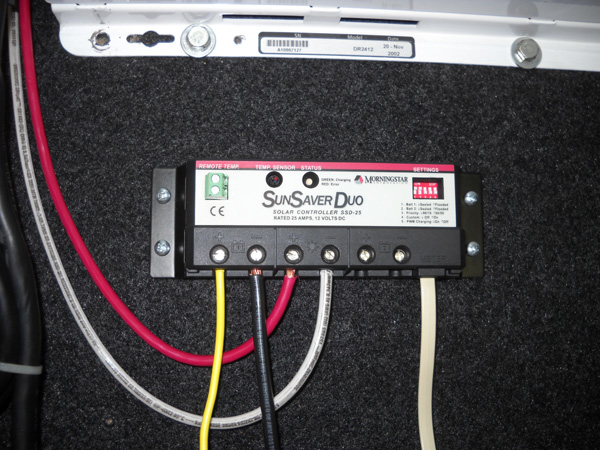
This is my new Morningstar Sun Saver Duo Charge Controller. Click here to read about it. My old CC didn't have a remote meter, which I think is important. If I know the batteries are getting low, I can start the generator or shut down some of the DC draw. I don't like discharging the batteries below 12.2 or 12.3 volts. The Sun Saver Duo is designed for RV applications. It will charge two different battery banks, the solar batteries and the coach battery.
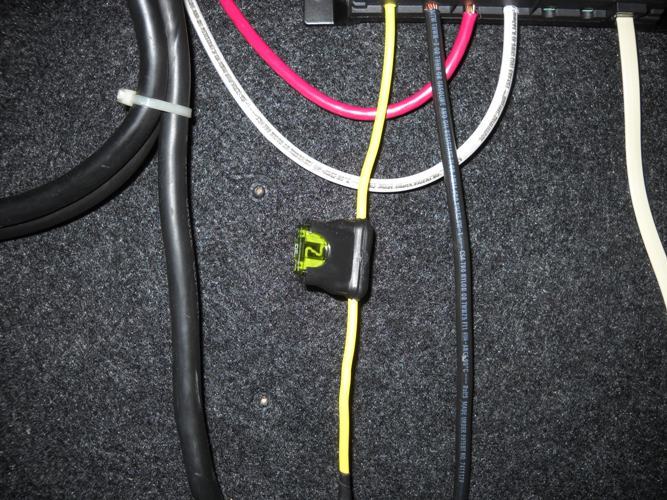
This is the 30 amp fuse between the battery positive and the input to the CC.
This is the entire system. The remote meter sitting on top of the battery box will be mounted inside the coach along with the DR2412 remote on / off switch. The device to the left of the disconnect switch is the OEM charger / converter. It will only be used as a backup in the event the DR2412 fails. Also on the left is the OEM battery disconnect switch. It still operates the OEM battery. The gray box in the upper right is the AC connection box. The generator AC input is fused here.

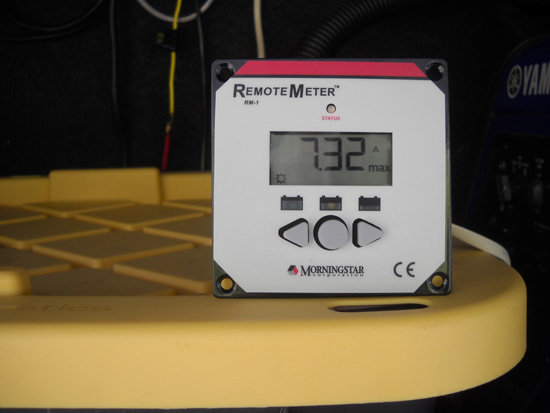
A close up of the Sun Saver Duo Remote Meter. It's showing the maximum solar amps from the panels.
That's it. Questions? Send an e-mail here.